Included in the files you download from ThemeForest for the theme is a zip archive named osmond-child.zip. A child theme in WordPress is a sub-theme that inherits the functionality, features, and style of its parent theme. Using a child theme is highly recommended for customizing your site, as it allows you to make changes without affecting the original code of the parent theme.
Advantages of Using a Child Theme
- Safe Updates: With a child theme, you can update the parent theme without losing your customizations. This ensures your site stays up-to-date and secure.
- Customization: A child theme allows you to alter the layout, functionality, and styling of the parent theme without modifying the original theme files. This is useful for CSS customizations, template file modifications, and custom functions.
- Fallback Safe: If there are issues with the child theme, the parent theme acts as a fallback, ensuring your site remains functional.
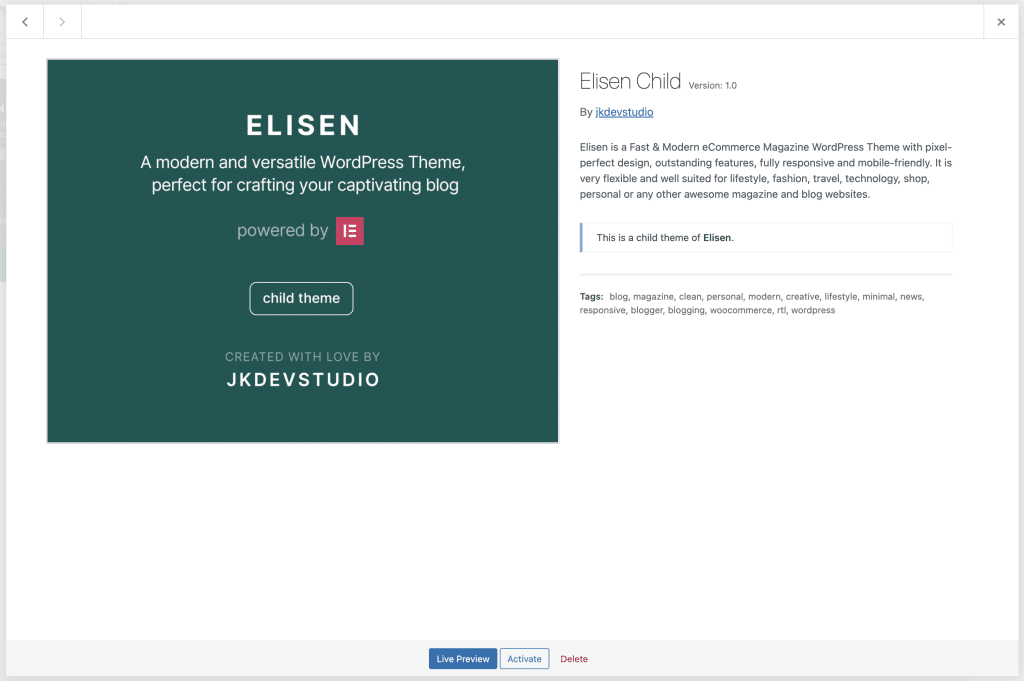
Installing the Child Theme
- Upload the Child Theme: In your WordPress dashboard, go to ‘Appearance’ > ‘Themes’, click on ‘Add New’, then ‘Upload Theme’. Choose the
osmond-child.zip - Activate the Child Theme: After the installation, click ‘Activate’ to enable the
osmondchild theme on your site.
Customizing the Child Theme
- Edit CSS: To modify the appearance, add your custom CSS to the child theme’s
style.cssfile. This will override the corresponding styles in the parent theme. - Edit PHP Files: If you need to modify PHP files, copy them from the parent theme into the child theme, maintaining the same file structure. Any modifications should be made in the child theme’s copies of these files.
- Add Functions: You can add custom PHP functions to the child theme’s
functions.phpfile. These functions are loaded in addition to the parent theme’s functions.
By utilizing the child theme, you can ensure that your customizations are preserved and effectively manage updates to the parent theme.